第101天:漏扫项目篇&Nuclei&Yakit&Goby&Afrog&Xray&Awvs&联动中转被动

第101天:漏扫项目篇&Nuclei&Yakit&Goby&Afrog&Xray&Awvs&联动中转被动
Yatming的博客goby
老朋友了~
Nuclei
1 | 官网地址:https://nuclei.projectdiscovery.io/ |
批量扫描:
1 | nucle -l urls.txt |
扫描单个目标
1 | nuclei -target xxx.com |
加载对应的poc脚本,可以是当前路径下
1 | nuclei -t ./test/ |
推荐使用,批量检测urls.txt,poc为test.yaml,输出结果result.txt
1 | nuclei -l urls.txt -t test.yaml -o result.txt |
AWVS
同样是老朋友了,但是感觉不好用。emmm,可以和xray进行互补,awvs爬虫比较强劲。
Xray
前面的就介绍过很多次了,是一款被动扫描的工具,可以和burp进行联动。也可以和awvs,或者是:awvs+burp+xray进行联动扫描。
1 | AWVS指向代理-->burp-->xray |
Afrog
项目地址:https://github.com/zan8in/afrog
2023的小迪说这款工具会是热门,但是好像并没有火起来。
扫描单个目标
1 | afrog -t http://example.com -o result.html |
扫描多个目标
1 | afrog -T urls.txt -o result.html |
测试单个PoC
1 | afrog -t http://example.com -P ./testing/poc-test.yaml -o result.html |
测试多个PoC
1 | afrog -t http://example.com -P ./testing/ -o result.html |
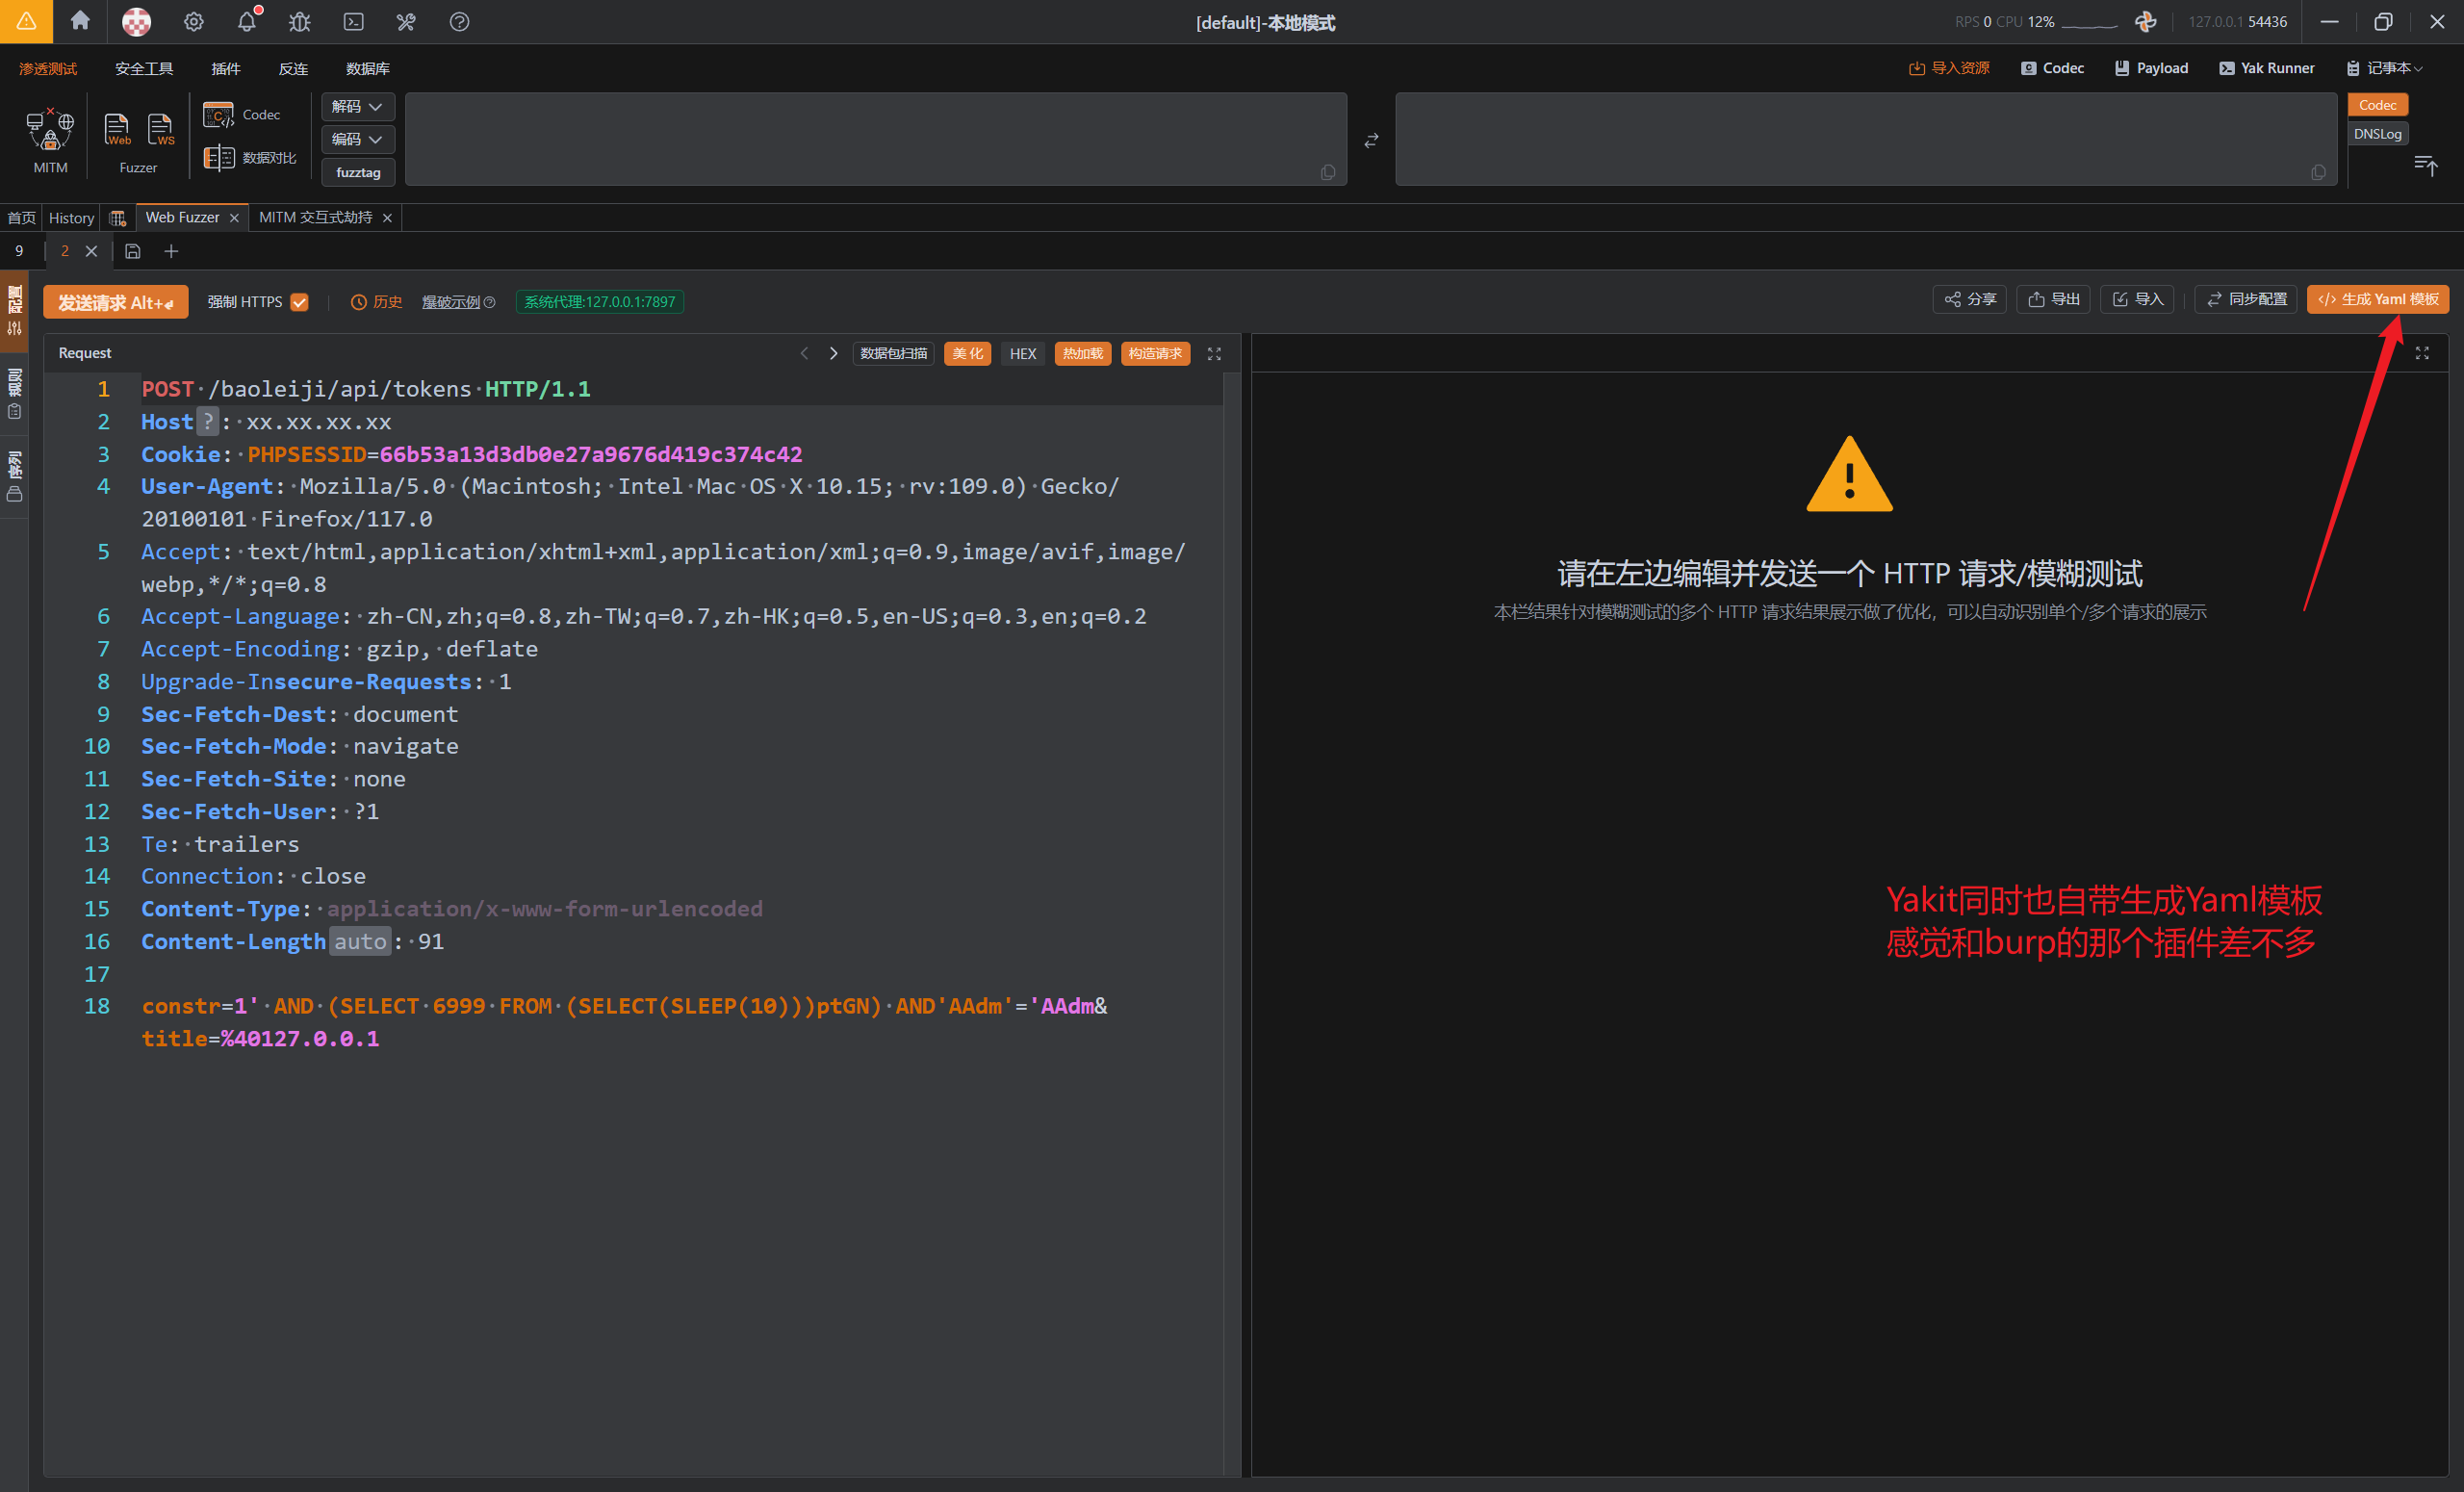
Yakit
和Burp很像,但是他比burp更加综合化,他上面有自己的插件仓库,不用别人从其他地方进行插件的安装,不错的工具。
官方地址:https://www.yaklang.com/
针对网上没有的集成的yaml,但是有POC的漏洞
如何将这样的集成到自己的漏洞库中,这样就要学习怎么写对应工具的poc是什么写法,这里用第一个cve漏洞来演示:
1 | id: CVE-2022-30525 |
参考文章:https://blog.csdn.net/weixin_43080961/article/details/124776553

评论
匿名评论隐私政策
✅ 你无需删除空行,直接评论以获取最佳展示效果